We're so excited to get you started with your Hololuminescent Display!
Follow the steps below or see our videos to get started.
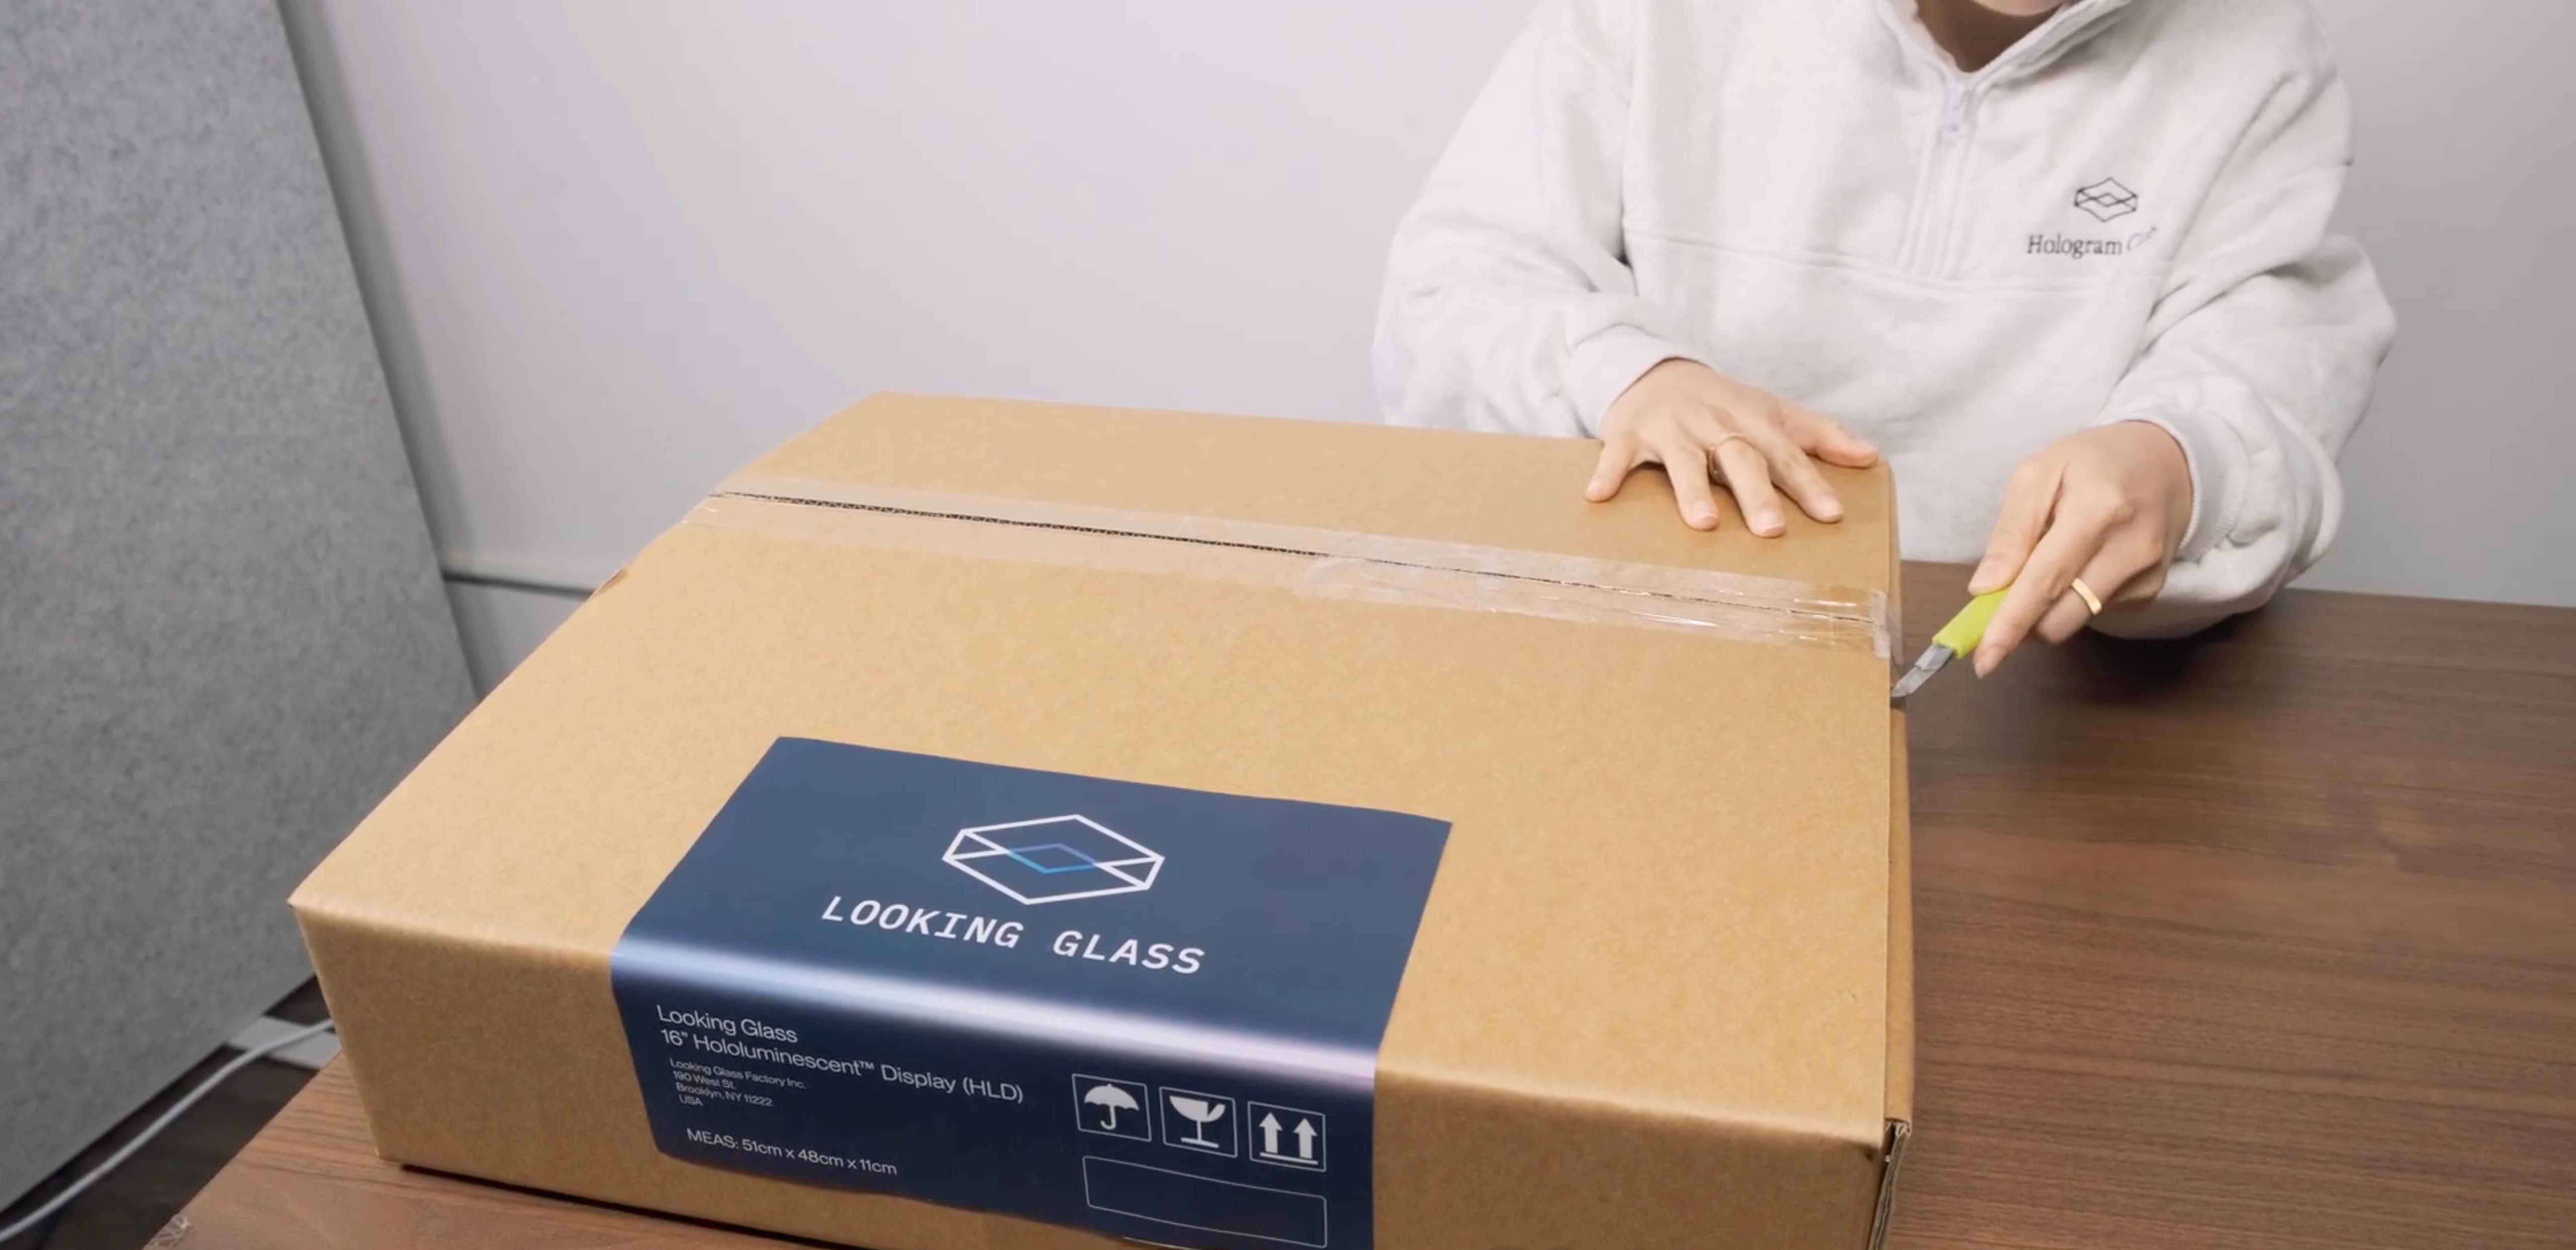
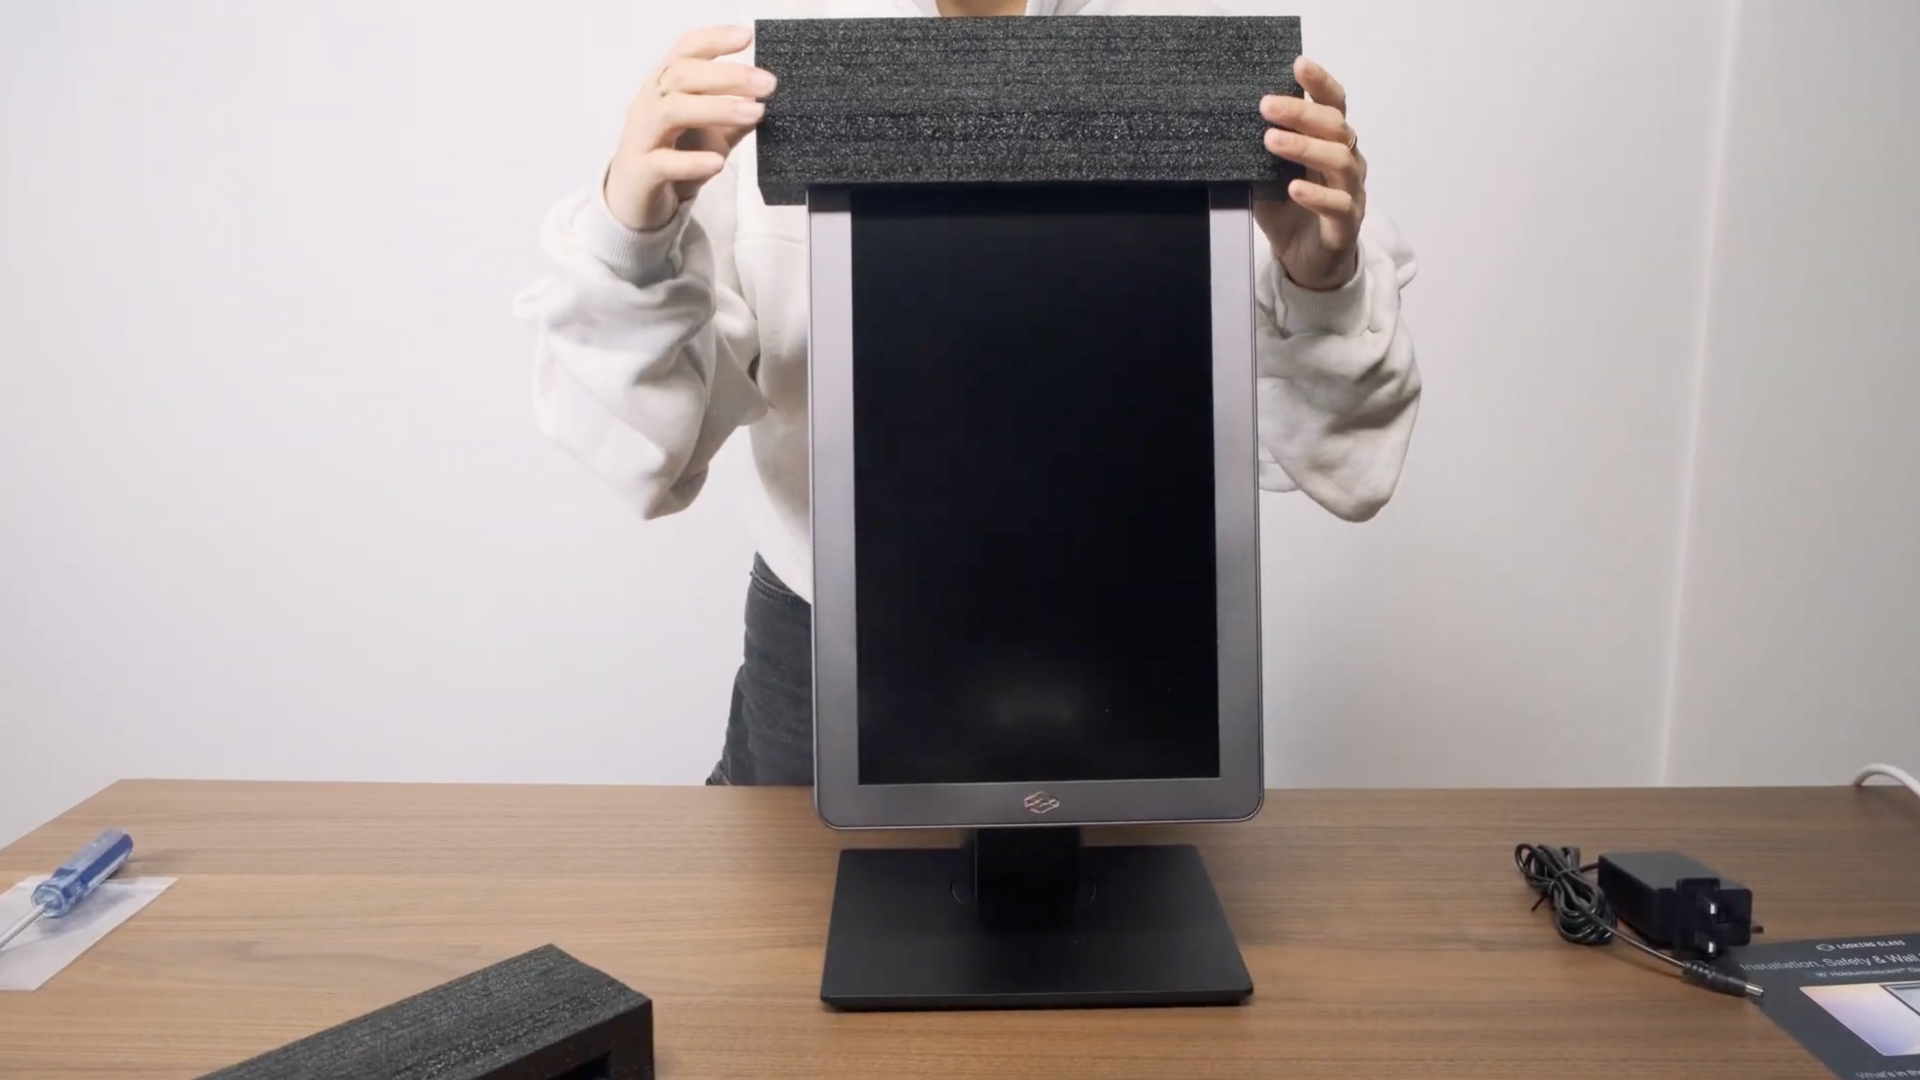
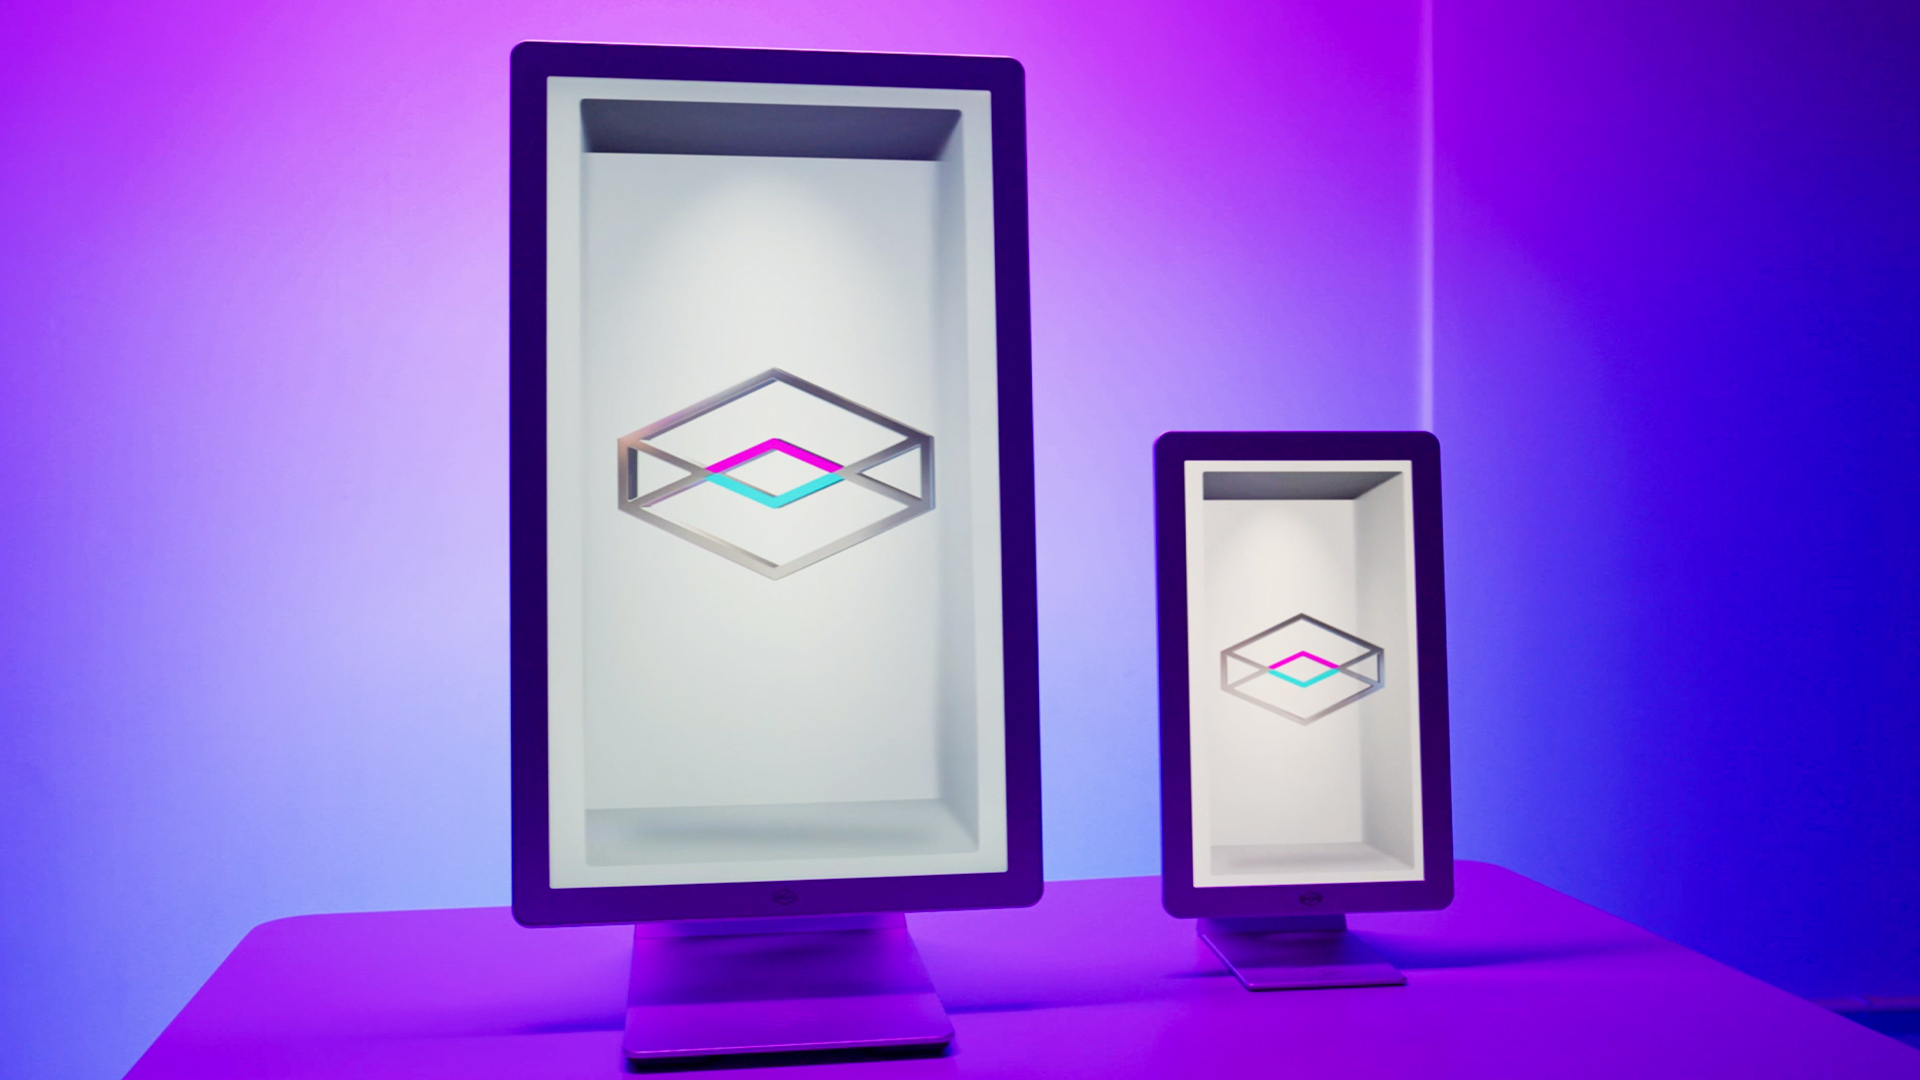
Step 1 — Unbox your HLD
Inside your HLD box, you’ll find your display, the stand, power brick, cables, and a getting started card. Open the box and take out the display.
Lay the display down onto a clean and padded surface to avoid damage.
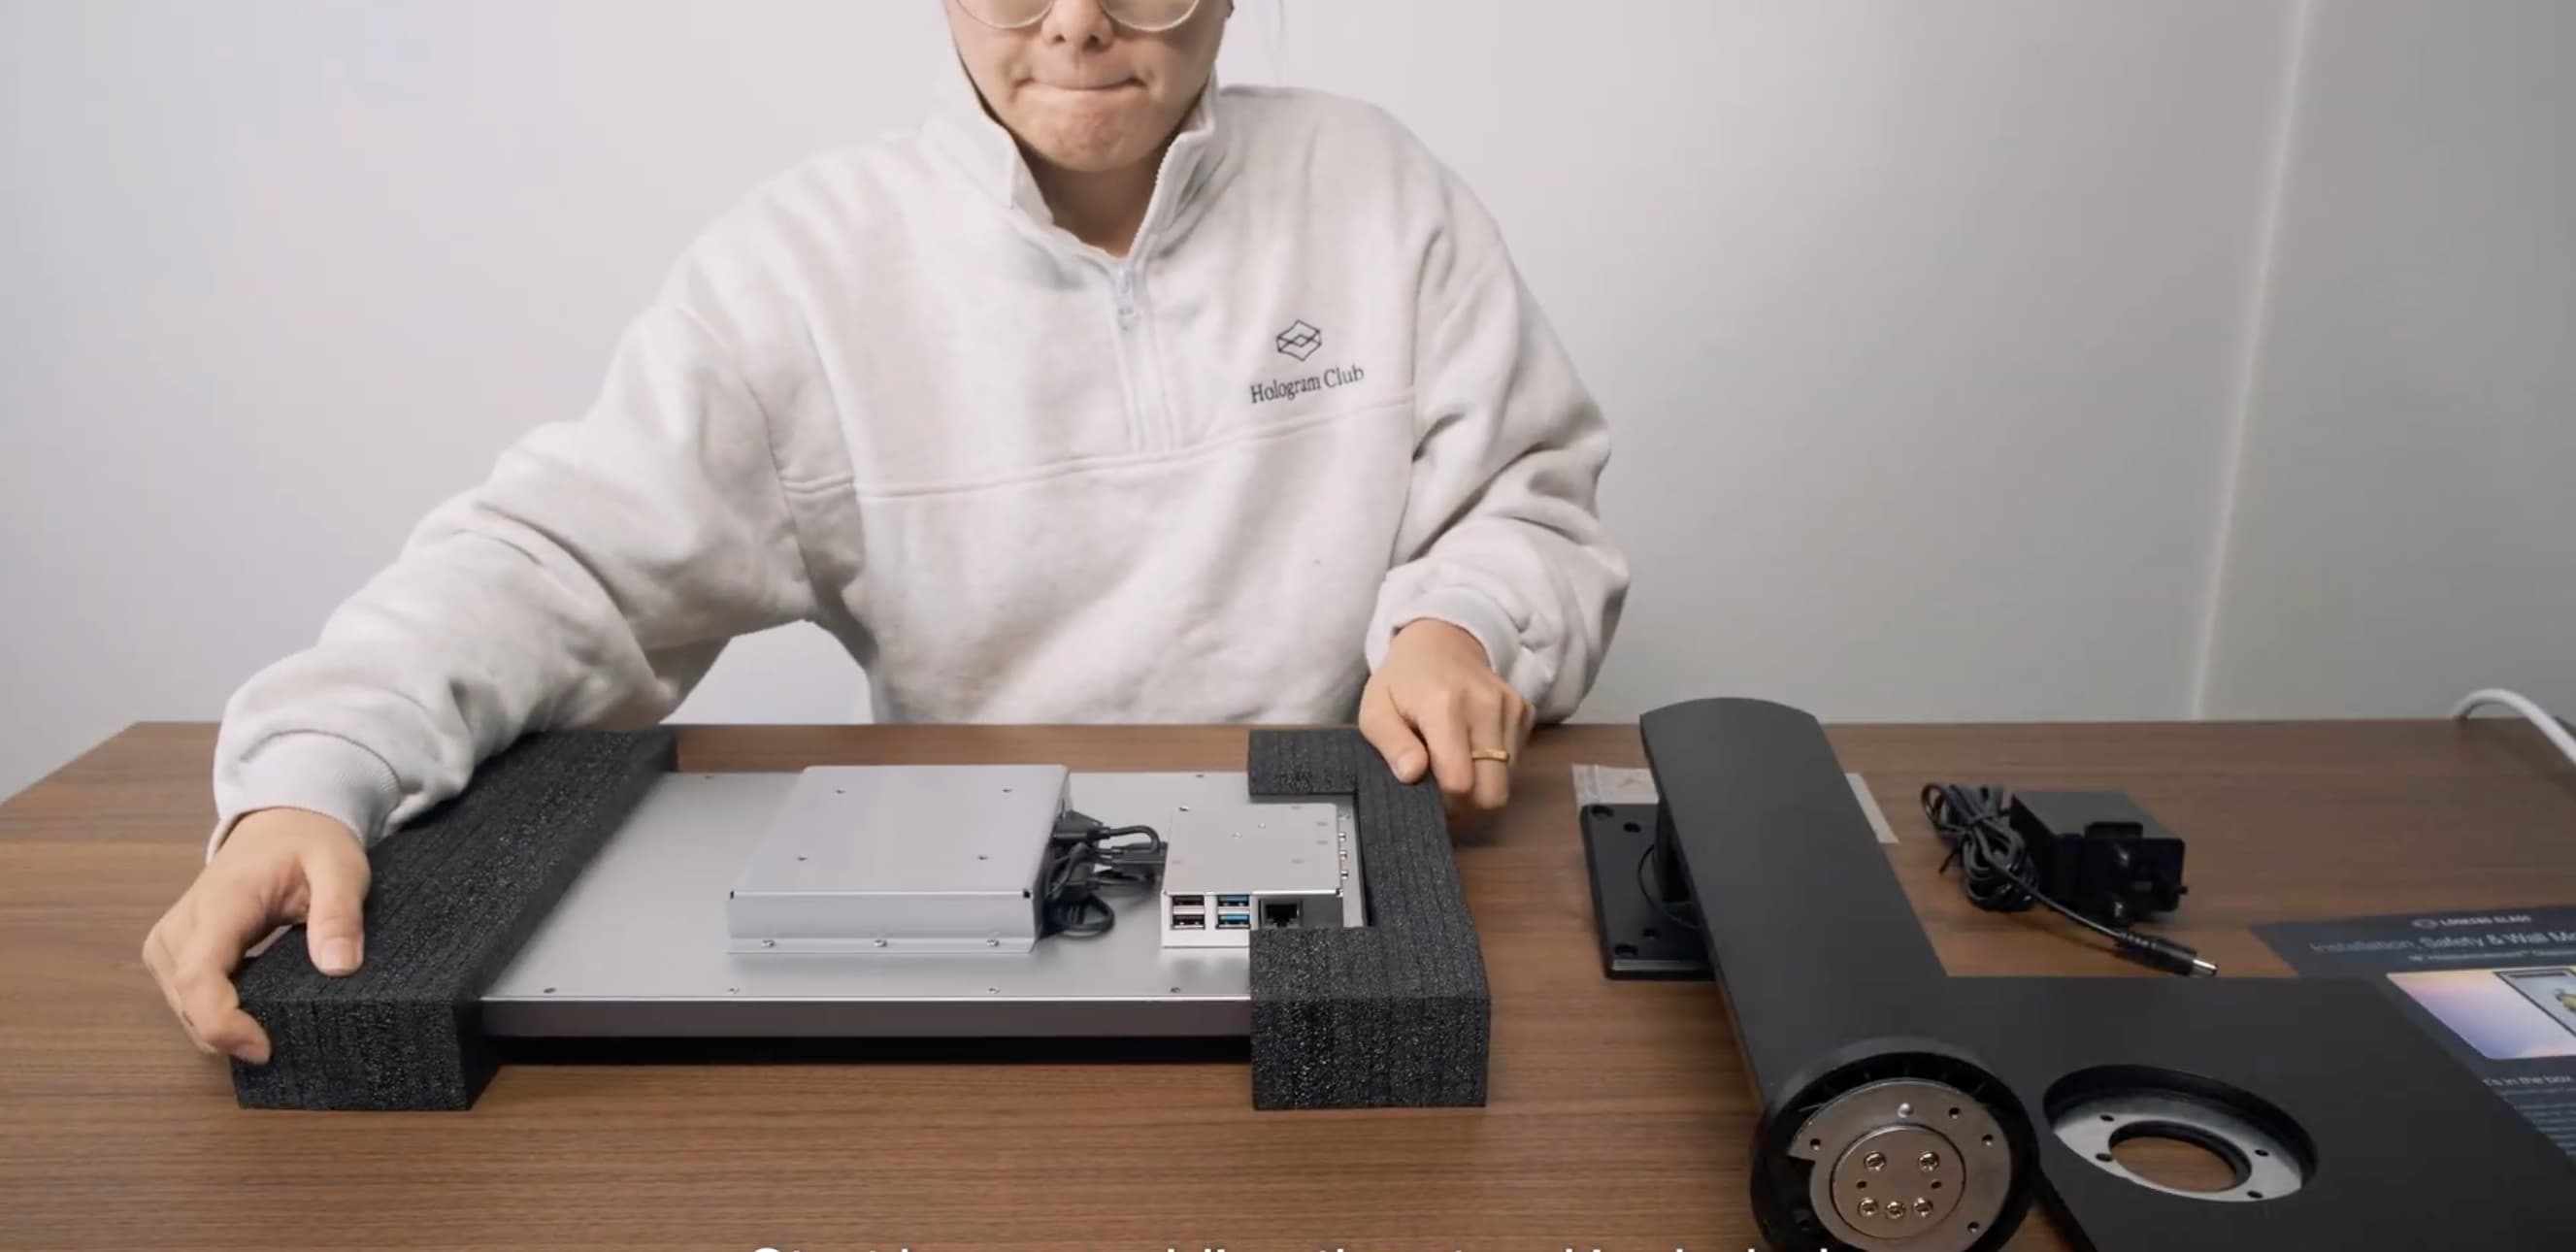
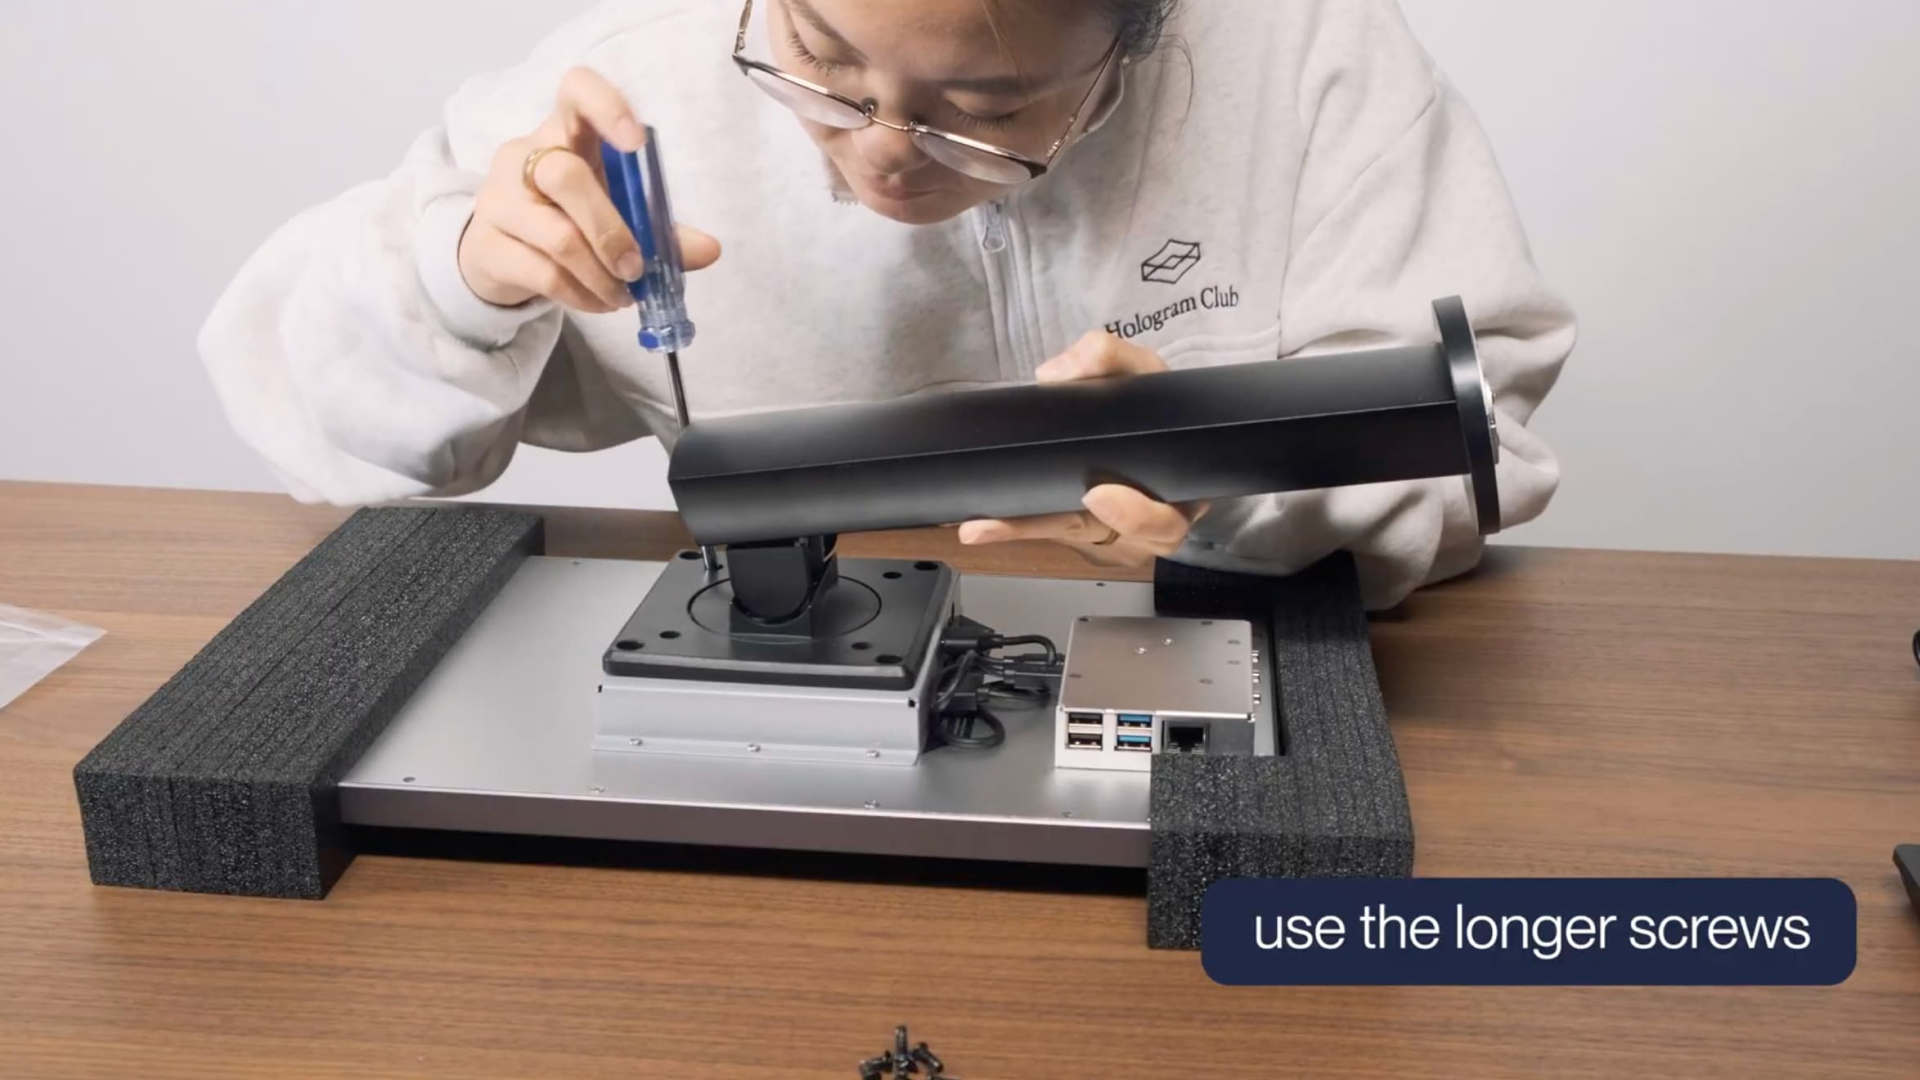
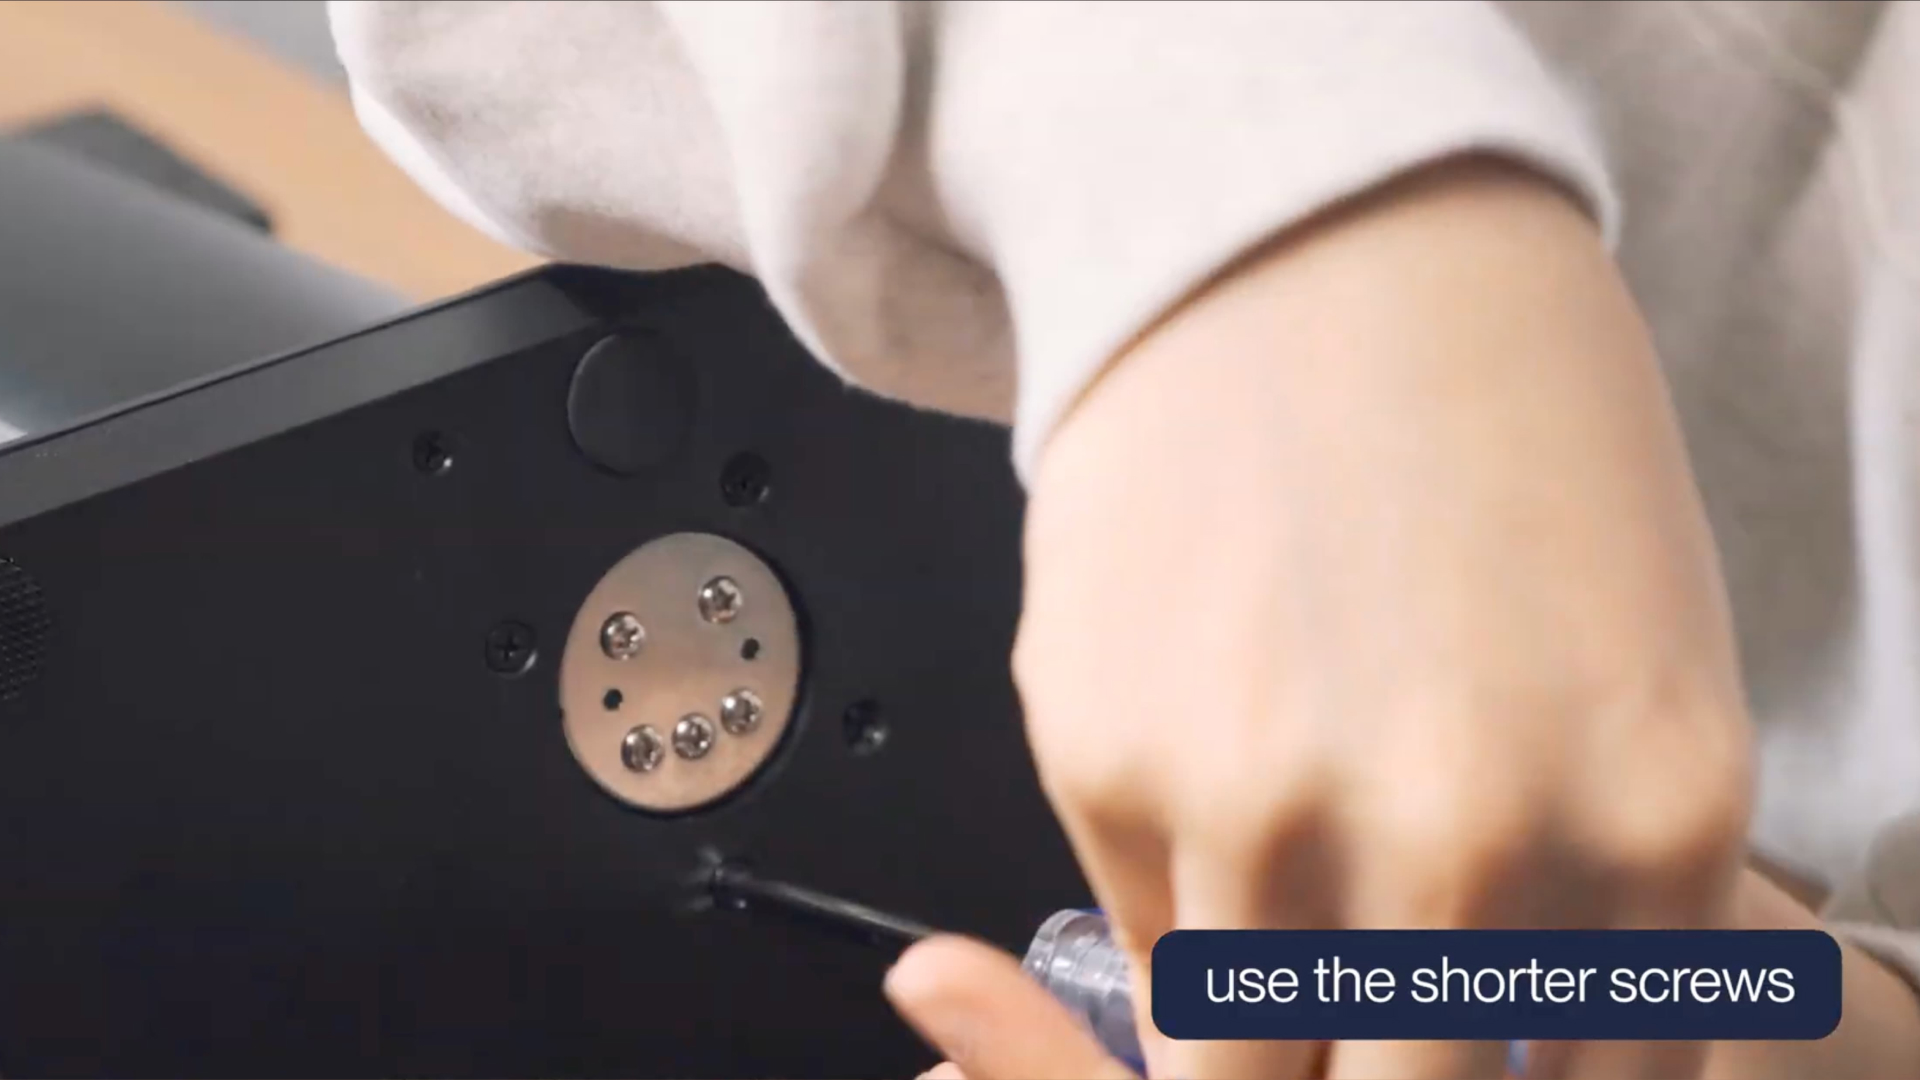
Step 2 — Assemble the stand
Using the four long M4 Phillips round-head screws, attach the stand to the back of the HLD.
Screw in the base plate of the stand with the four short M4 Phillips countersunk screws.
Place the HLD in an upright position. Remove the protective film from the front of the HLD.
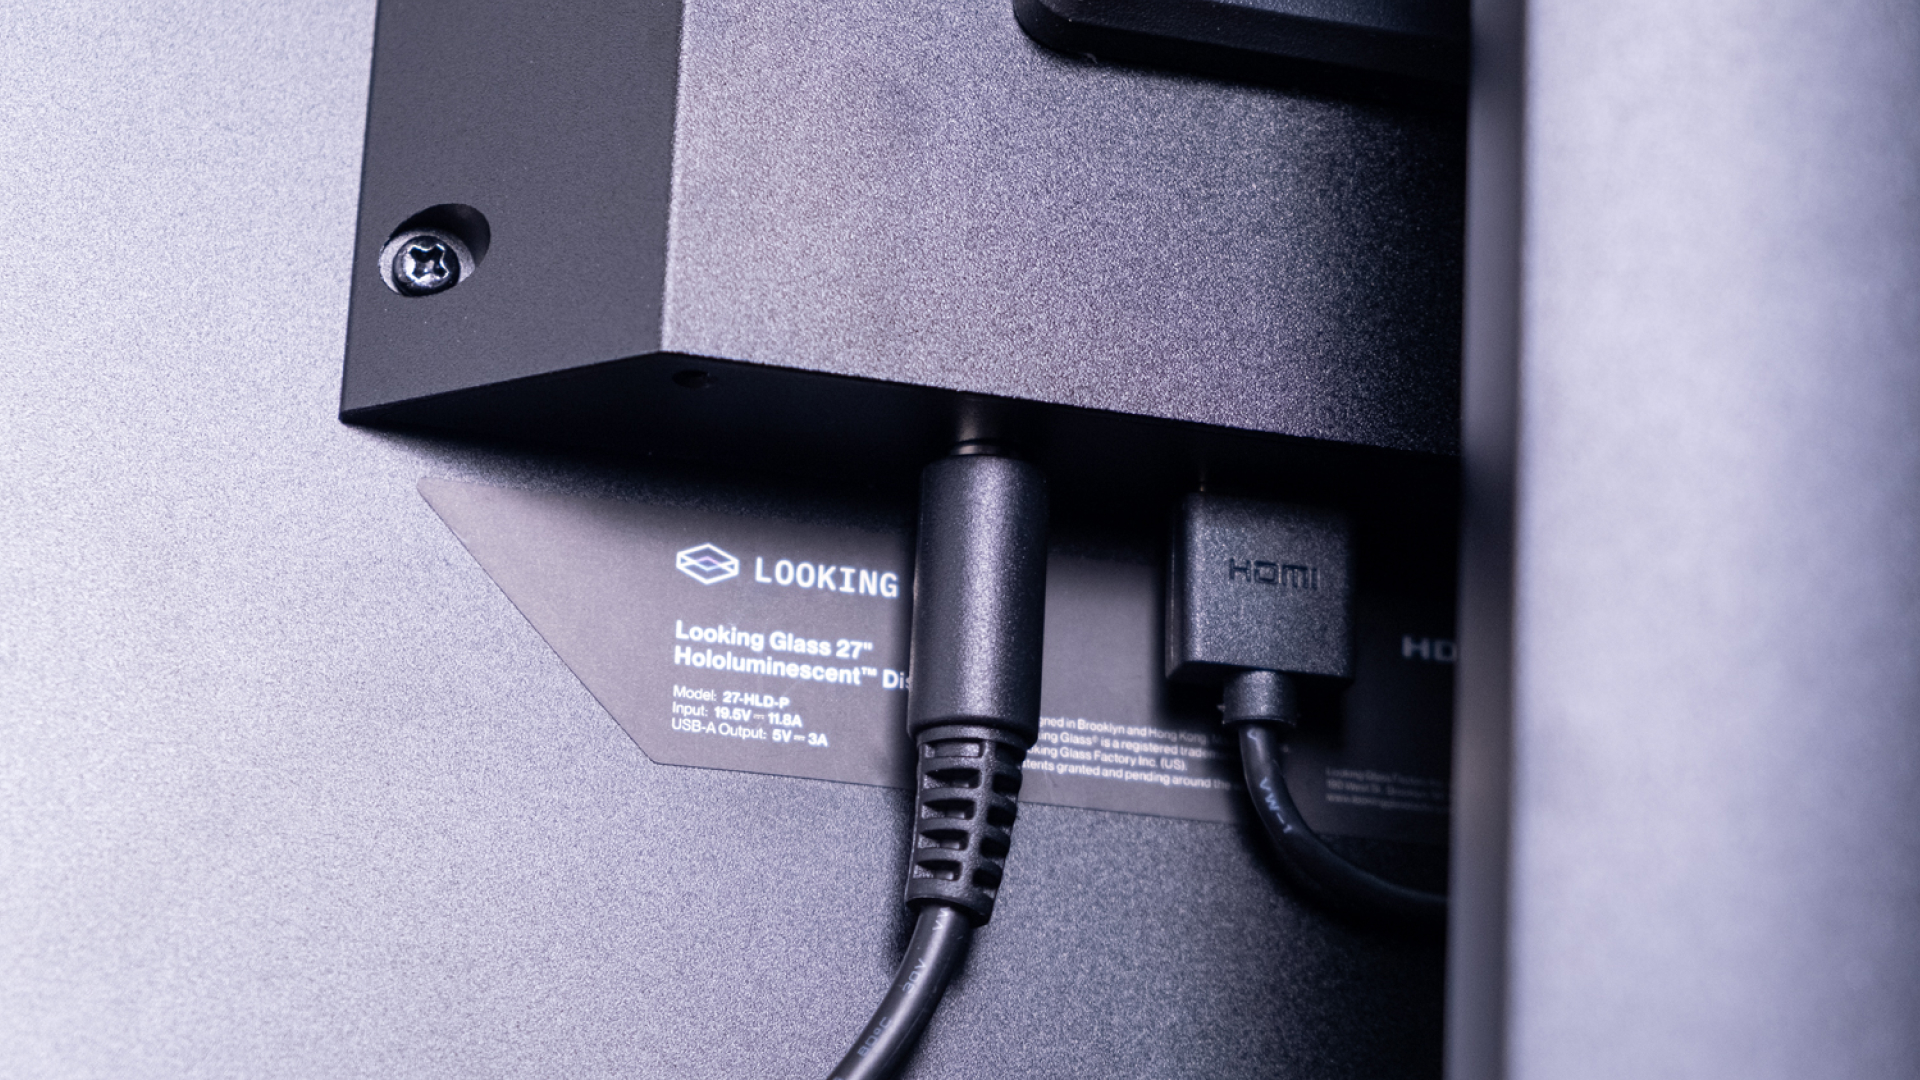
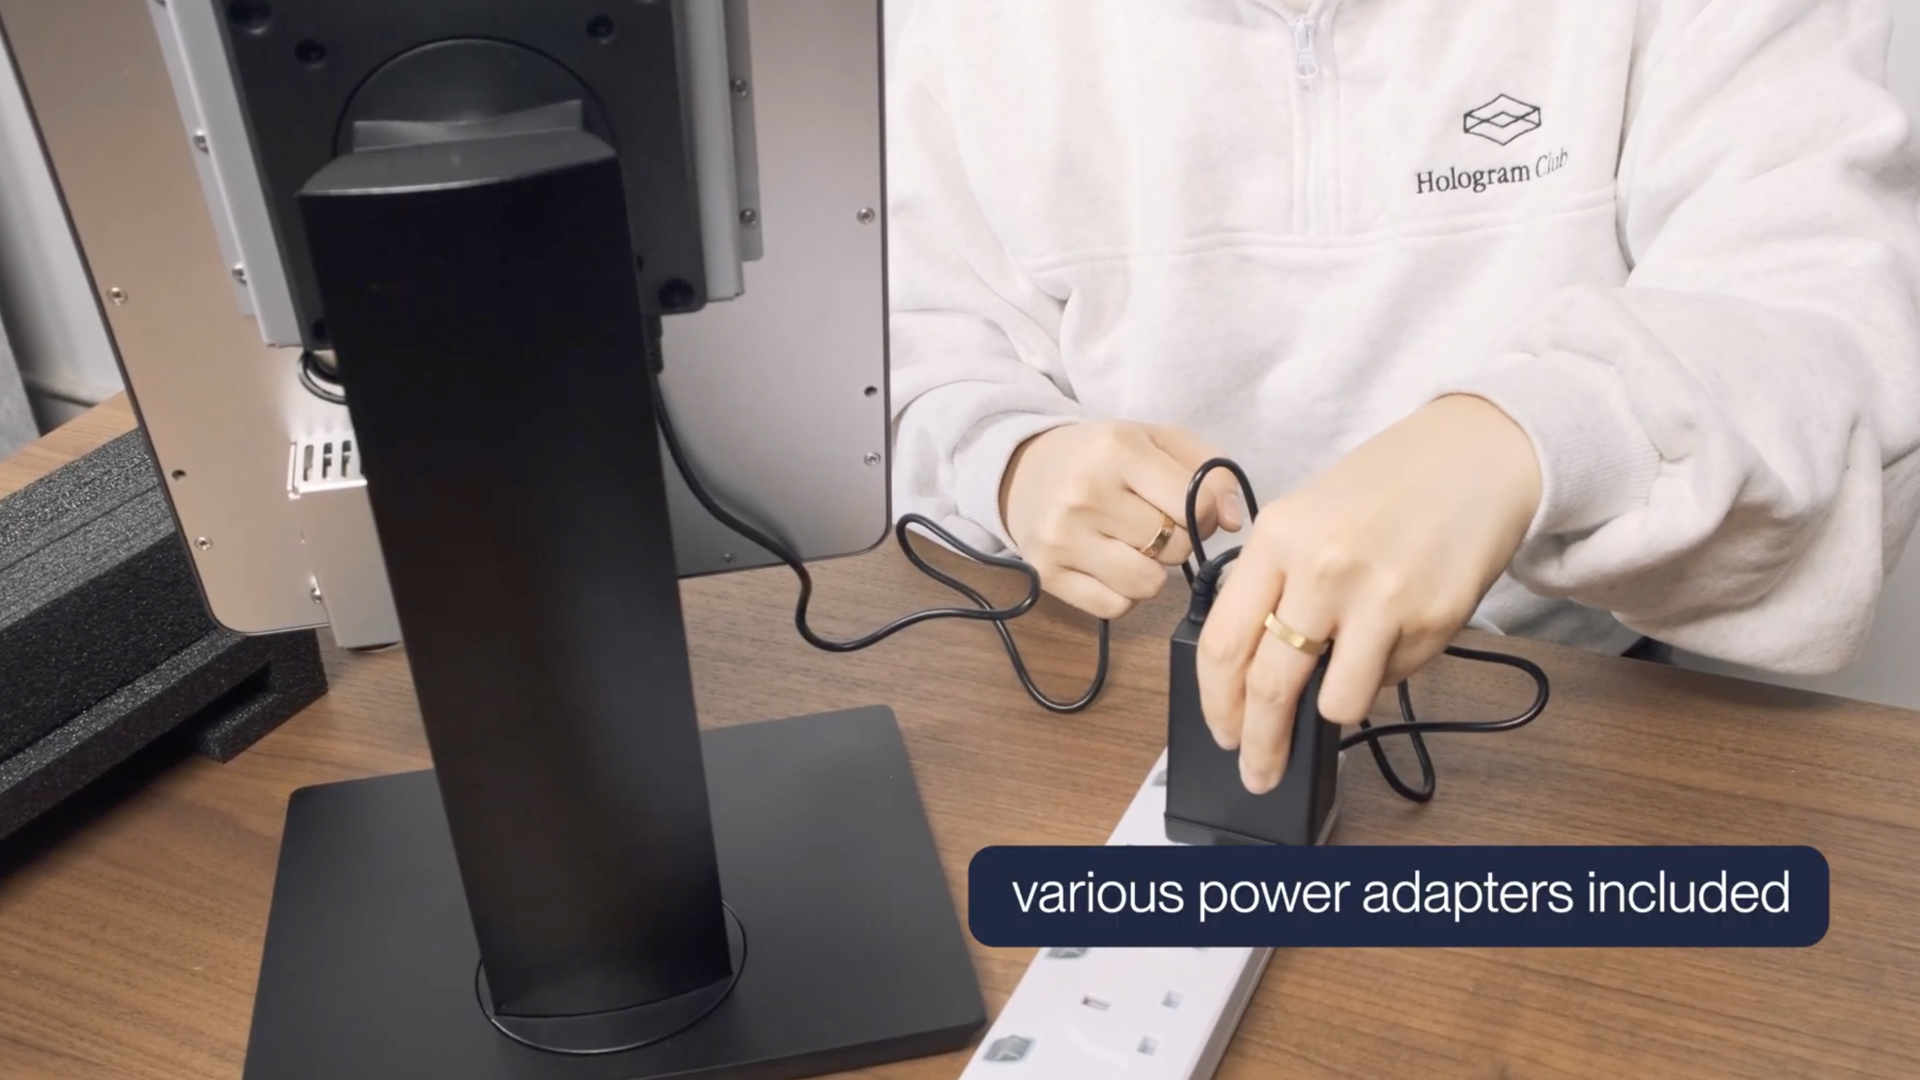
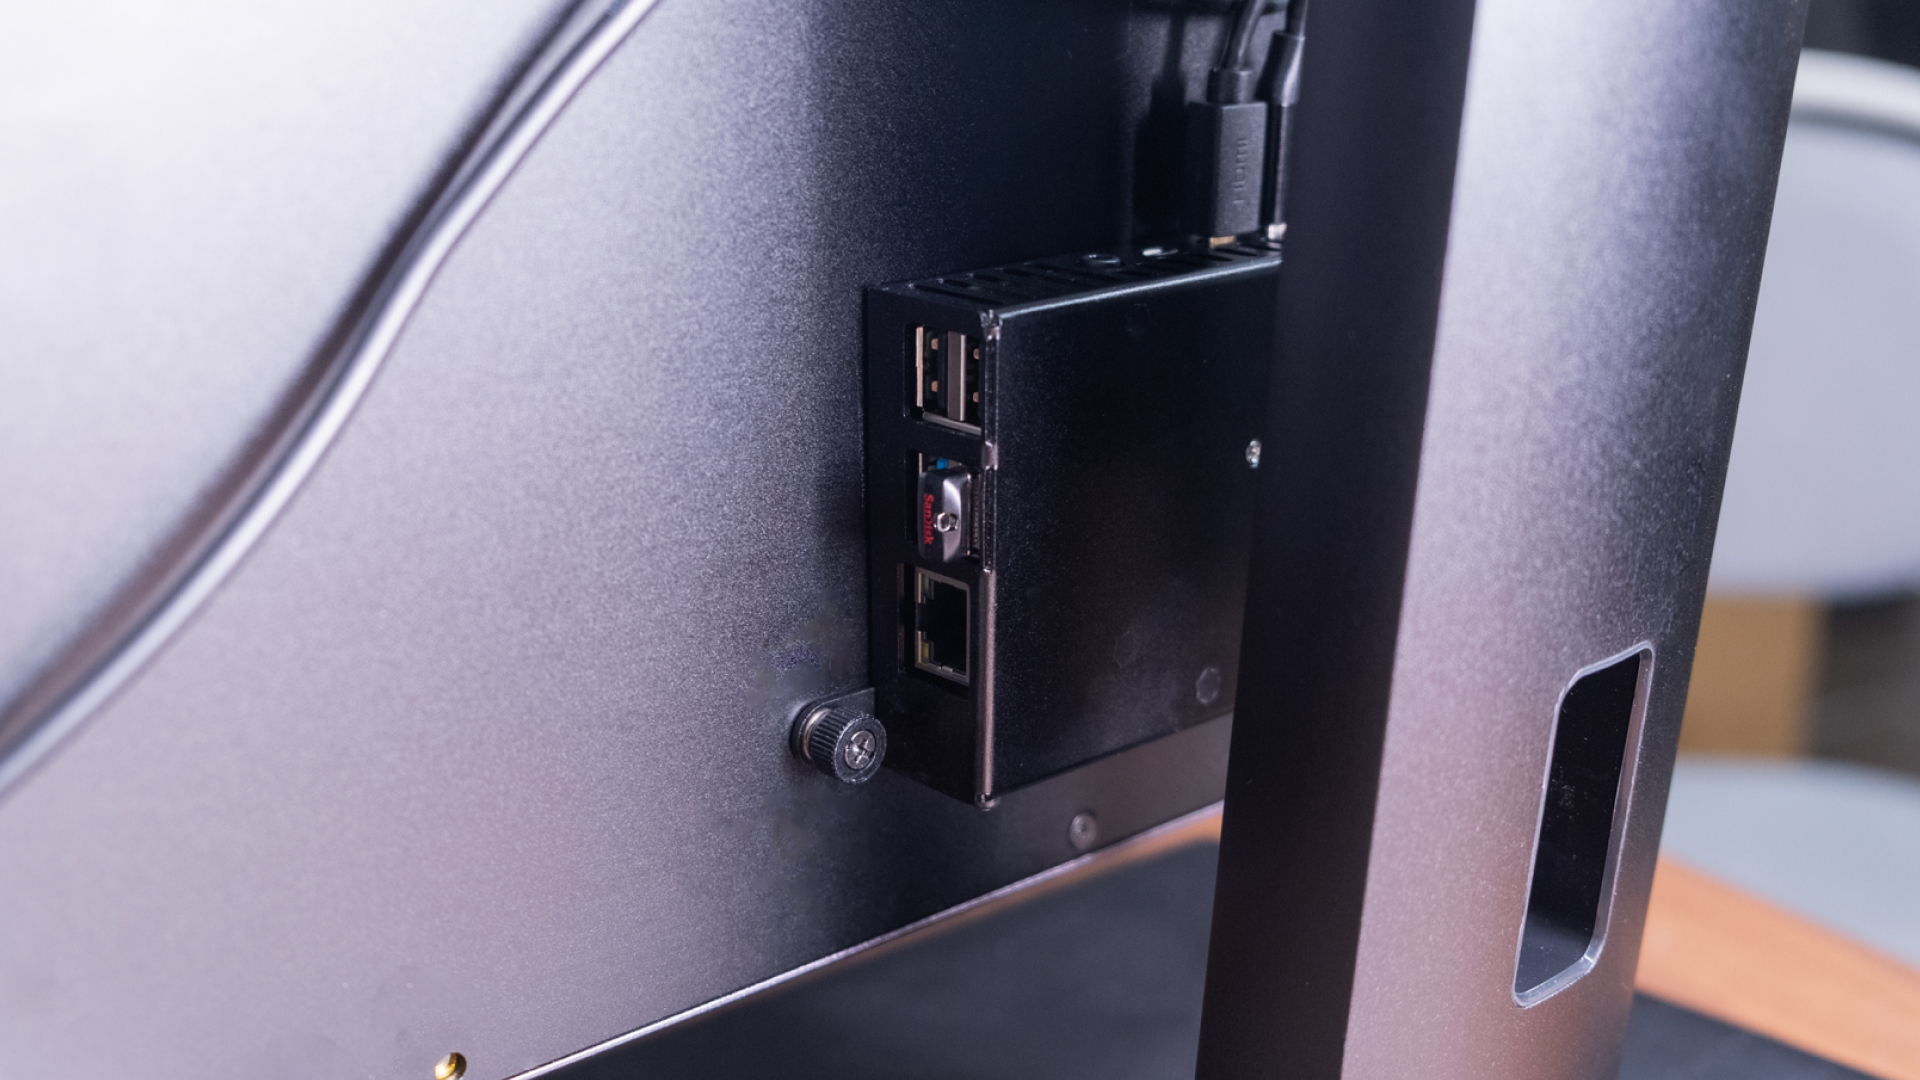
Step 3 — Connect to power
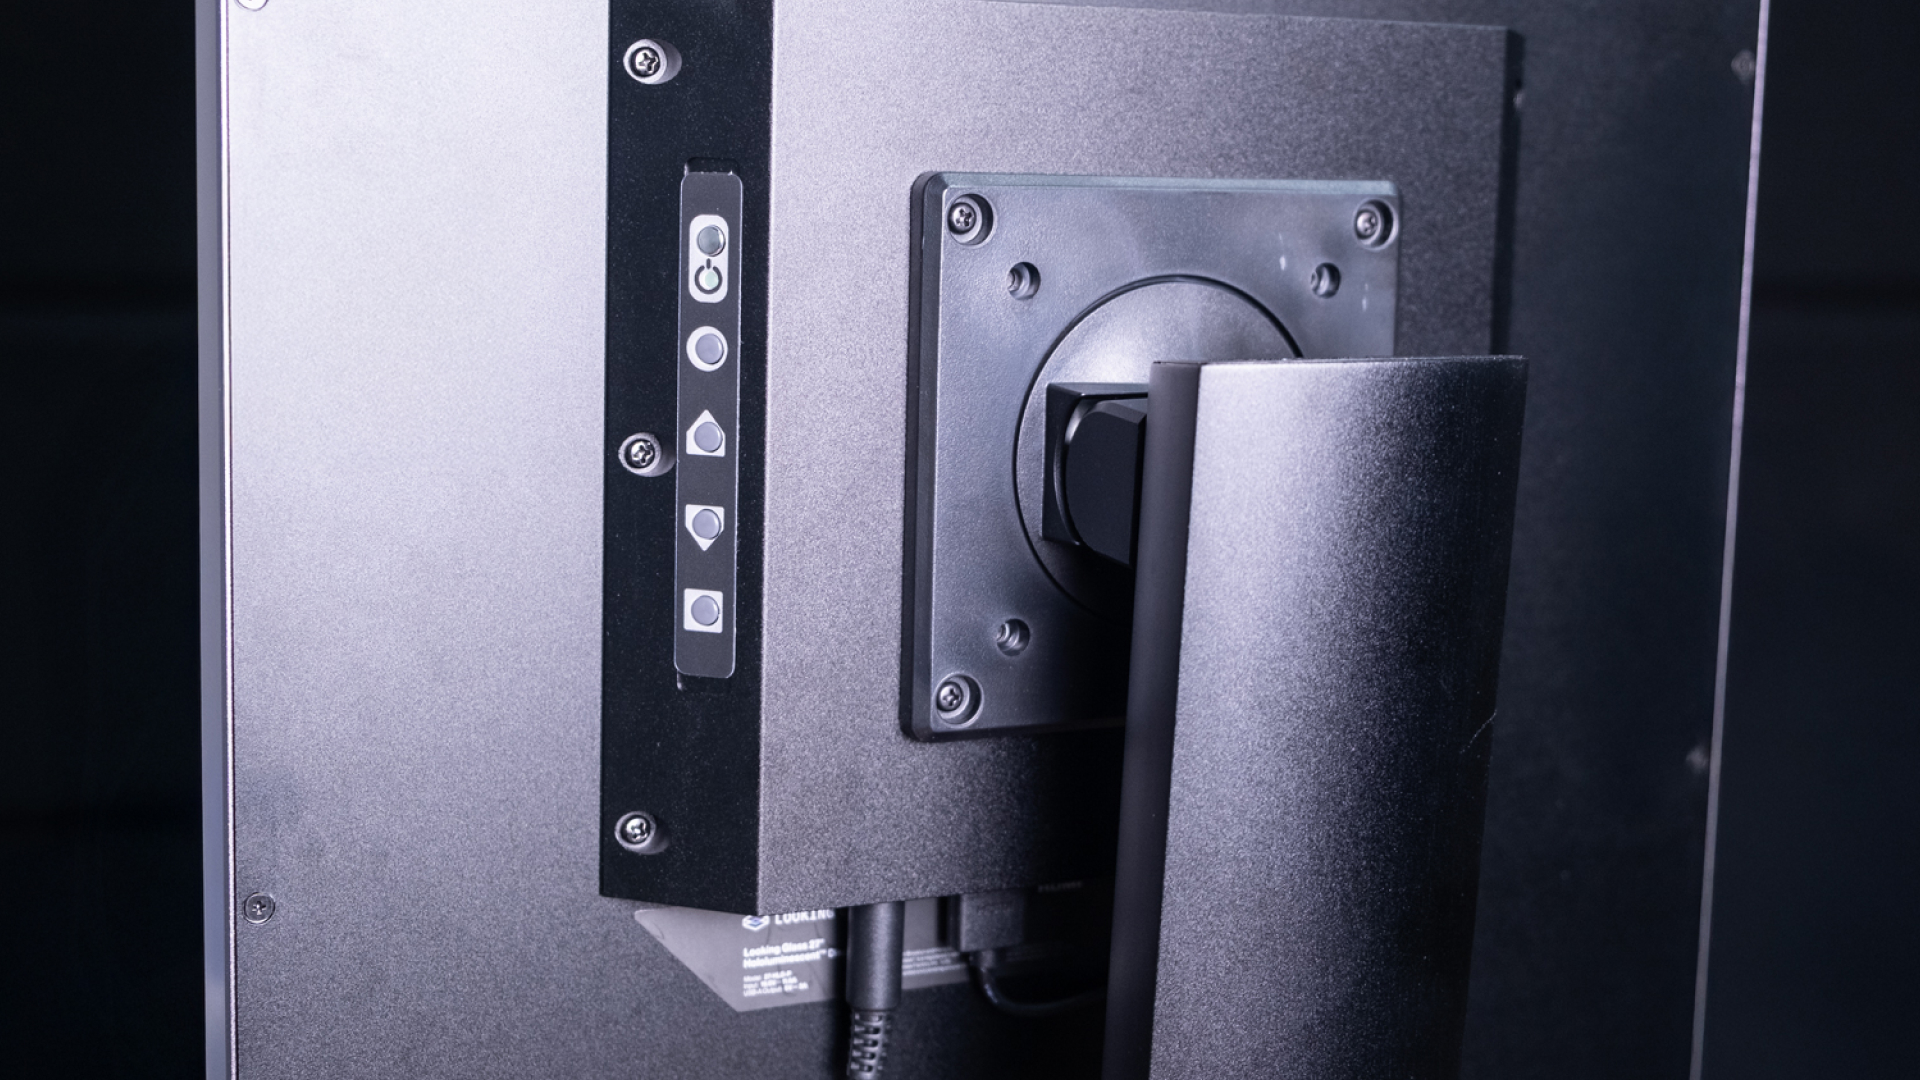
Connect the power to the barrel jack connector on the back of the HLD.
The system should turn on automatically when plugged into power.
On the left side, there are buttons to power on and off the display, and to adjust the brightness, contrast, and other display settings.
Step 4 — View demo content
Once your display powers on, you’ll see a video of our logo followed by other sample content demonstrating the capabilities of the display.
The demo media player that is running the content has simple media controls on the bottom of the display — press the button on the left to go to the previous video, the middle button to loop/unloop the current content, and the button on the right to go to the next video.
Step 5 — Load new content
You can use the provided USB thumb drive, inserted in the demo media player, to load new content onto the HLD.
Use HLD Author to preview and process videos before loading them onto the USB thumb drive. Videos that are not processed with our software may have issues during playback.
You can also load example content from our documentation site here.
Step 6 — Next steps
That’s it! You’re now ready to use your Hololuminescent Display.